- Antipasti
- Bella Italia
- Dessert
- Drinks
- Favorite Italian recipes
- Main courses
- Pasta
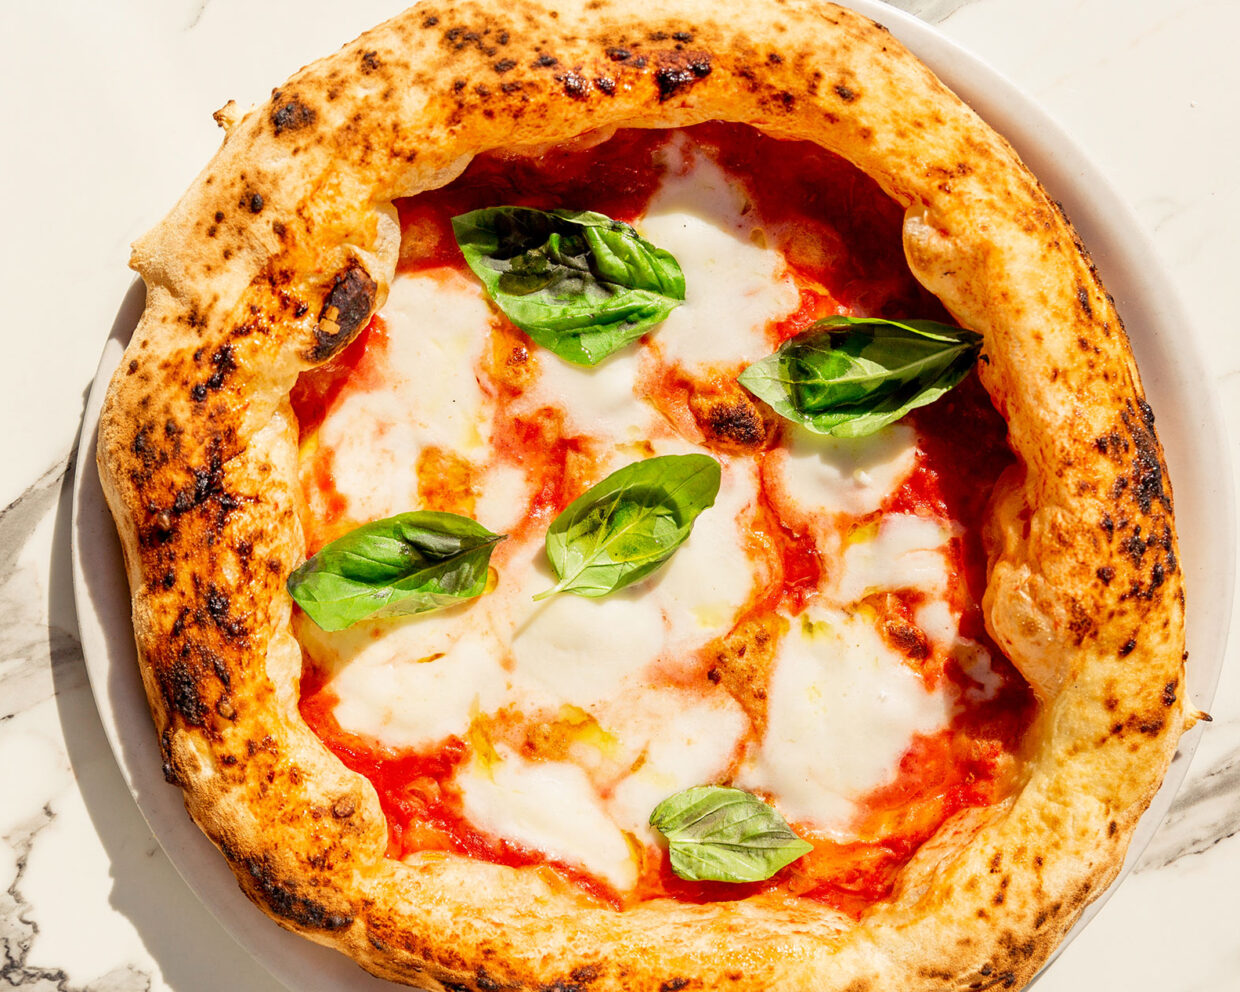
- Pizza
- Side dishes and salad
- Tips & Knowledge
Roll out pizza dough? Shape pizza like in Italy!
Roll out pizza dough - with a rolling pin? No Italian does that! Find out in this article why you shouldn't roll out your dough and how to shape it properly instead. You can watch it in detail in a video. With the perfect technique and simple tricks, you can create a light and crispy pizza base.
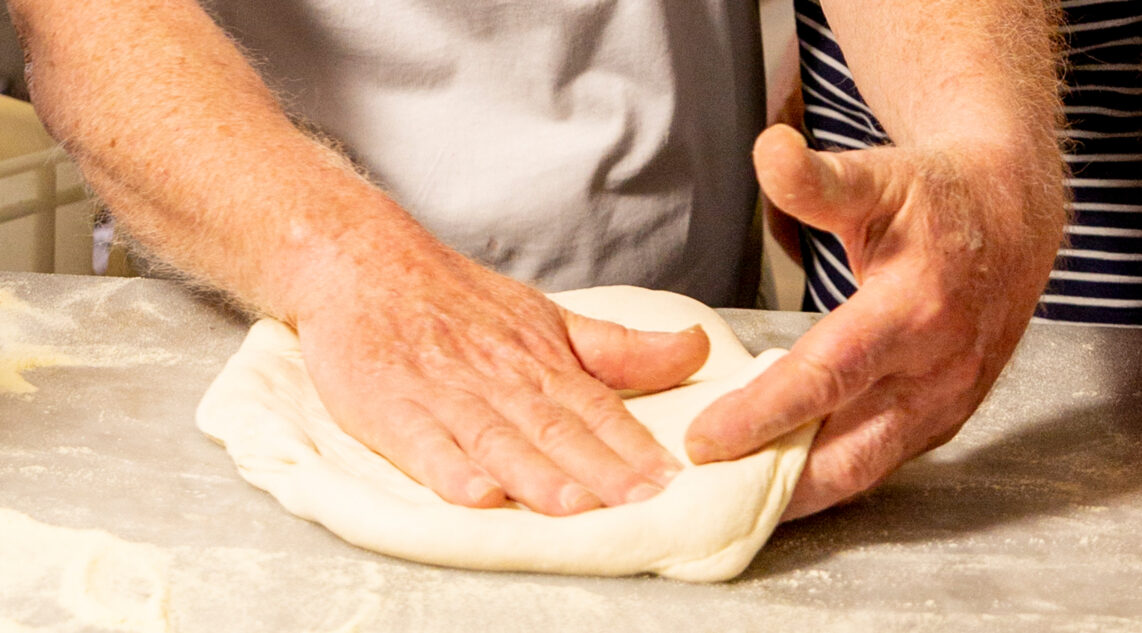
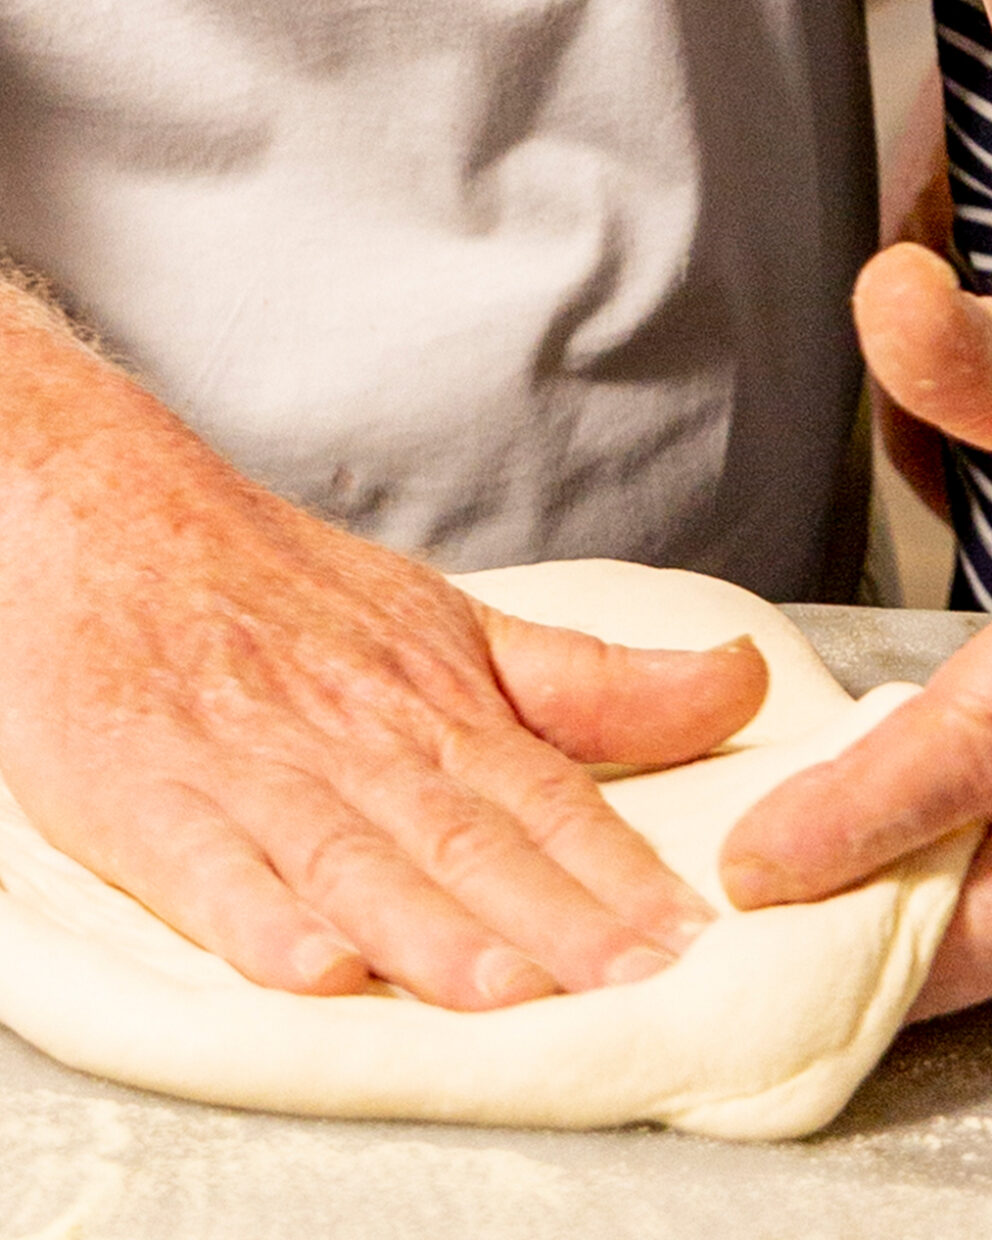
Table of contents
- 1. preparation of the work surface
- 2. roll out the pizza with semola instead of flour
- 3. how to get the dough ball out of the box
- 4. shaping pizza dough like an Italian: the technique
- 4.1. Finger technique: Less pressure for more air in the dough
- 4.2. Scissor handle and "Sciaffo"
- Video: Rolling out or spreading pizza dough tutorial
- 5th professional tip: Half the dough, full result
- 6. conclusion
- FAQ about rolling out pizza dough
One of the secrets to perfect pizza dough is to touch it only as much as necessary. The reason? The less you work the dough, the more air remains trapped in it. These air bubbles later ensure that the edge of the pizza rises nicely and becomes fluffy. It is crucial to make the “right” movements decisively.
1. preparation of the work surface
First of all, the work surface on which you want to shape the dough must be free. You need at least 40 x 80 cm of free space, which is the equivalent of 2 pizzas. Position your ingredients nearby, especially the sauce and cheese – but so that they are not in the way. Remember that you need to be able to reach the shaped and topped dough piece from one side with the slider.


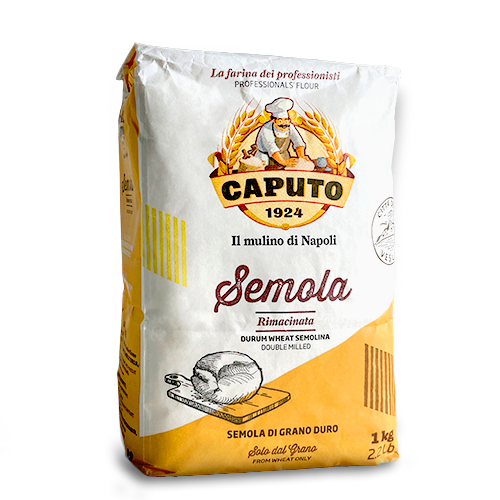
2. roll out the pizza with semola instead of flour
A common mistake is to spread the dough on flour. For Neapolitan pizza, however, it is best to use semola. This is a super finely ground durum wheat semolina from Italy.
Unlike flour, semola does not stick directly to the dough, but rather adheres to the outside. Semola prevents the dough from sticking to your work surface. At the same time, Semola ensures that it slides easily onto the pizza peel and bakes a nice underside in the oven. You should also flour your hands well with Semola to prevent the dough from sticking to them.
At the start of your pizza career, the dough will be unusually sticky at first. A lot of semola helps against this! Really a lot! When the work surface is clear, make a pile of 300-400 g on one side. Place your dough in it, turn it over until everything is well covered with semola and shape it in the same place. This ensures that the semola is well distributed under the pastry and prevents it from sticking.
As soon as the dough has the desired shape and size, carefully lift it out of the semolina with both hands and place it on a clean work surface. The pastry is then placed on the surface. Any excess semola is pushed back together to form a mound for the next piece of dough.
IMPORTANT: Make sure that as little semola as possible ends up on the pizza peel. If too much semola gets into the oven and burns, it will give a bitter taste.
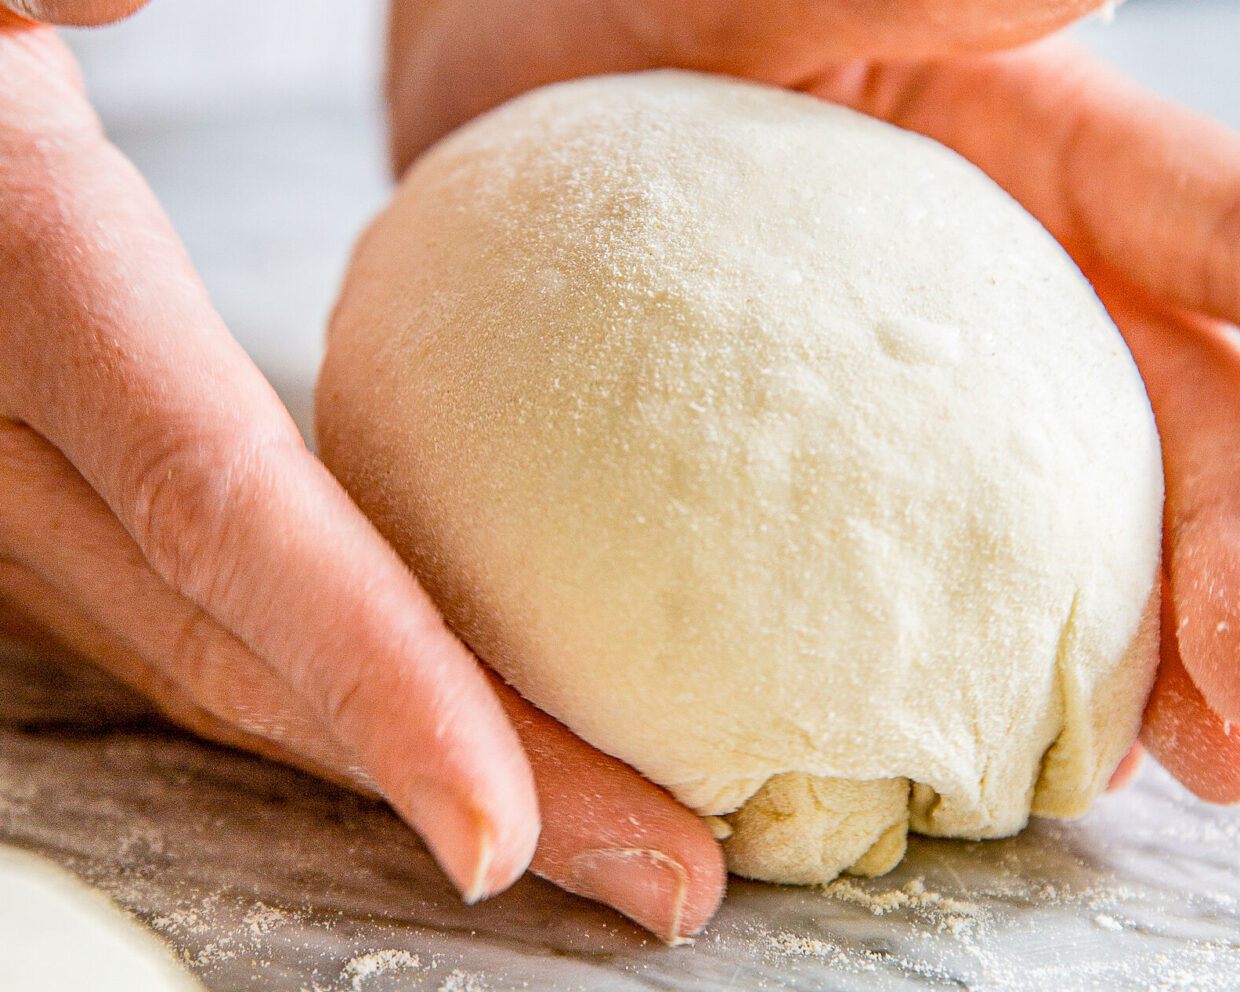
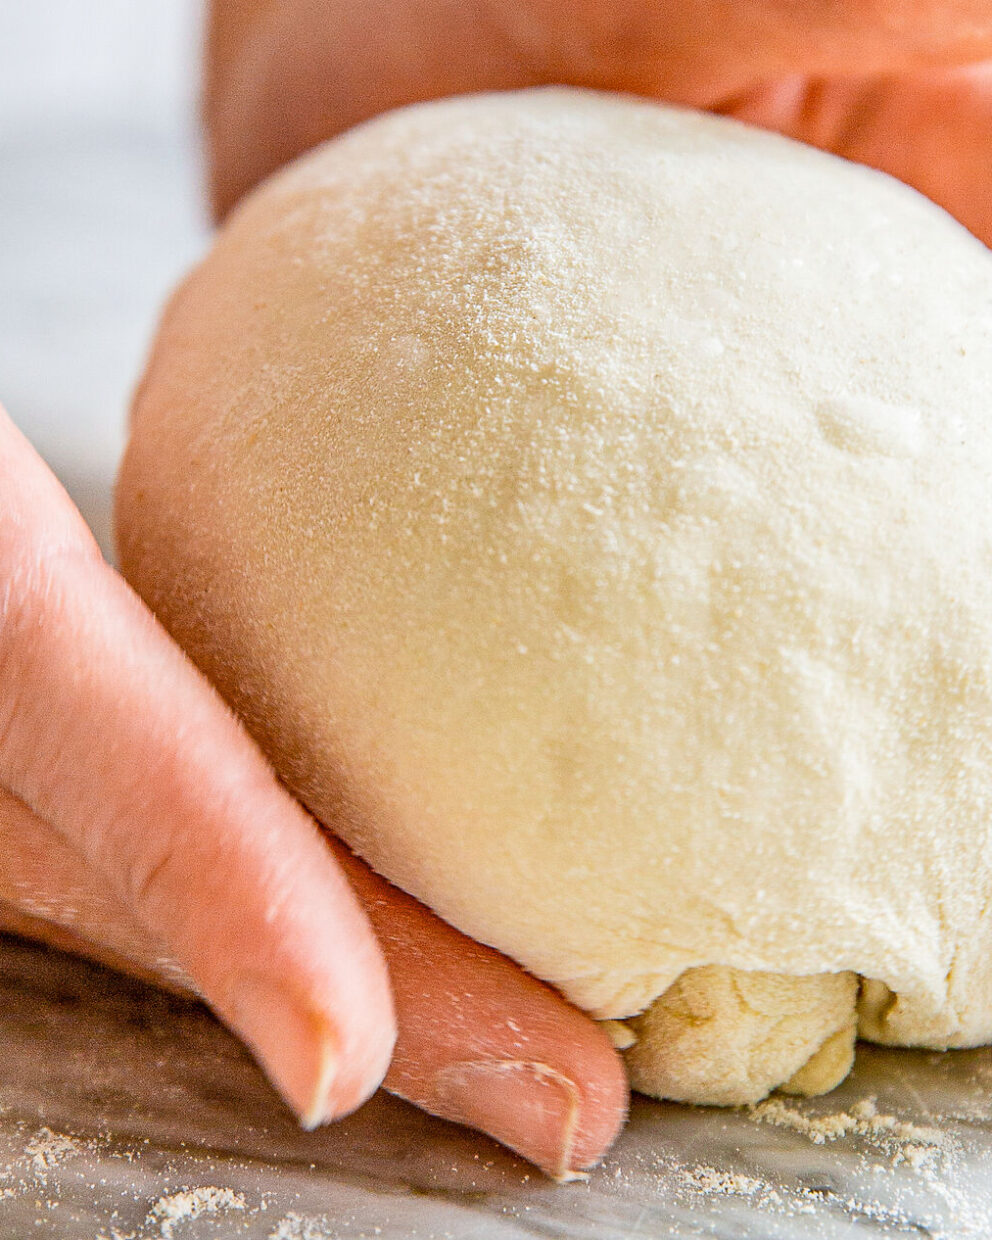
3. how to get the dough ball out of the box
After the dough has finished rising, we need to get it out of the box. Here are a few simple tips on how to get the dough ball out undamaged:
- Step 1: Dust your spatula lightly with flour so that no dough sticks to it.
- Step 2: Dust your dough piece in the box with semola – on top and in the spaces around it. Especially for beginners, it is better to use too much semola than too little. And always proceed piece by piece. Do not flour all the dough pieces in the box at the same time. Otherwise they will dry out.
- Step 3: Carefully cut each side of the dough ball with the spatula.
- Step 4: With the floured spatula, move under the bale in one swift movement. Carefully lift it out of the box. Make sure that the dough piece does not lose its shape. This happens, for example, if the dough piece hangs over the edge of the spatula and gravity pulls it wide. It is difficult to form a round pizza from such a deformed dough piece later on.

4. shaping pizza dough like an Italian: the technique
The biggest challenge when forming pizzas is to stretch the dough properly without overstretching or pulling it. First you spread the dough with your fingers, then you use one of the stretching techniques described below. These steps require the most practice. It is normal if you don’t succeed straight away. Only after a few pizzas will you notice a clear learning effect. So don’t give up too soon!
Here are a few golden rules:
- Work from the center outwards: Carefully spread the dough from the center outwards to form the “cornicione” (the thick edge of the dough). Do not work with your whole hand, but only with your fingertips and a lot of dexterity.
- Prevent mistakes: Stretching and pulling is important, but avoid stretching or kneading the dough excessively. This stresses the dough and causes it to lose elasticity and contract. Do not stretch and pull with your fingertips and do not do this when the dough is lying on the flat work surface. This way you only stretch one small area at a time and everything around it is not stretched or pulled. The base will be unevenly thick and holes may also appear.
4.1. Finger technique: Less pressure for more air in the dough
- Step 1: Place your hands next to each other, cross your index fingers loosely and use this position to push the air outwards from the center in three small movements. Always work towards the north, i.e. away from you.
- Step 2: Turn the dough and repeat the process. The edge will grow and you will get the typical Neapolitan structure.


4.2. Scissor handle and “Sciaffo”
In addition to the correct finger technique, there are two other movements that you can master when shaping the pizza dough:
- Scissor grip: Place three fingers on the work surface and grip the edge of the dough with one finger. This allows you to easily move the pizza from side to side and turn it again and again.
- Sciaffo (slap in the face): Place one hand slightly under the dough at the edge and place the other in the middle. The left hand pulls very lightly on the dough, then the flatbread moves onto the forearm and from there back onto the worktop. Turn the dough there with a gentle movement and repeat the process. Practice makes perfect here!
Video: Rolling out or spreading pizza dough tutorial
If you’re more of a visual type, watch this video. Neapolitan pizza world champion Davide Civitiello explains everything that is explained in this article: how to get dough balls out of the box correctly and shape them into a perfect pizza.
5th professional tip: Half the dough, full result
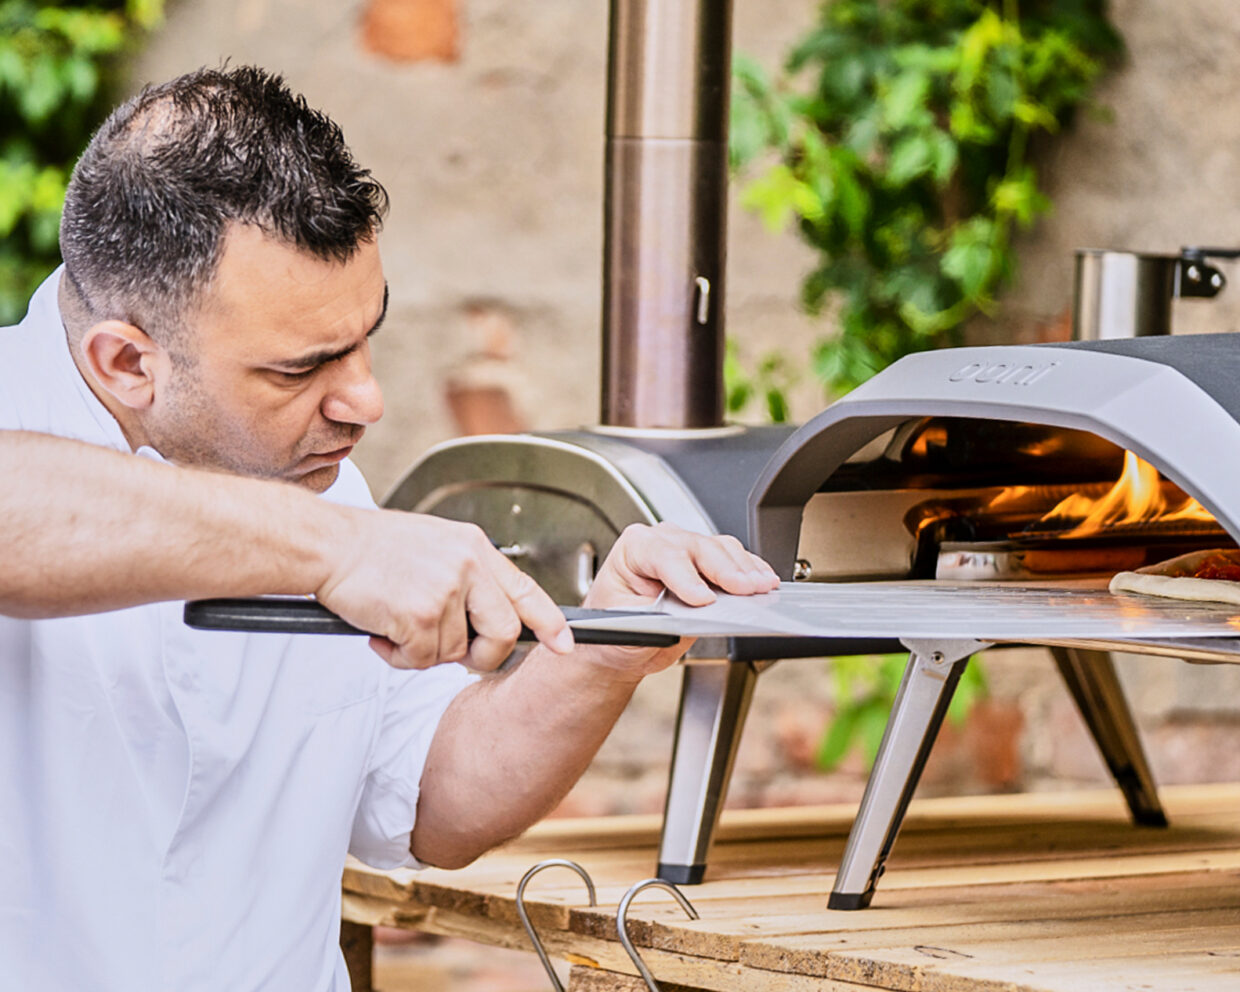
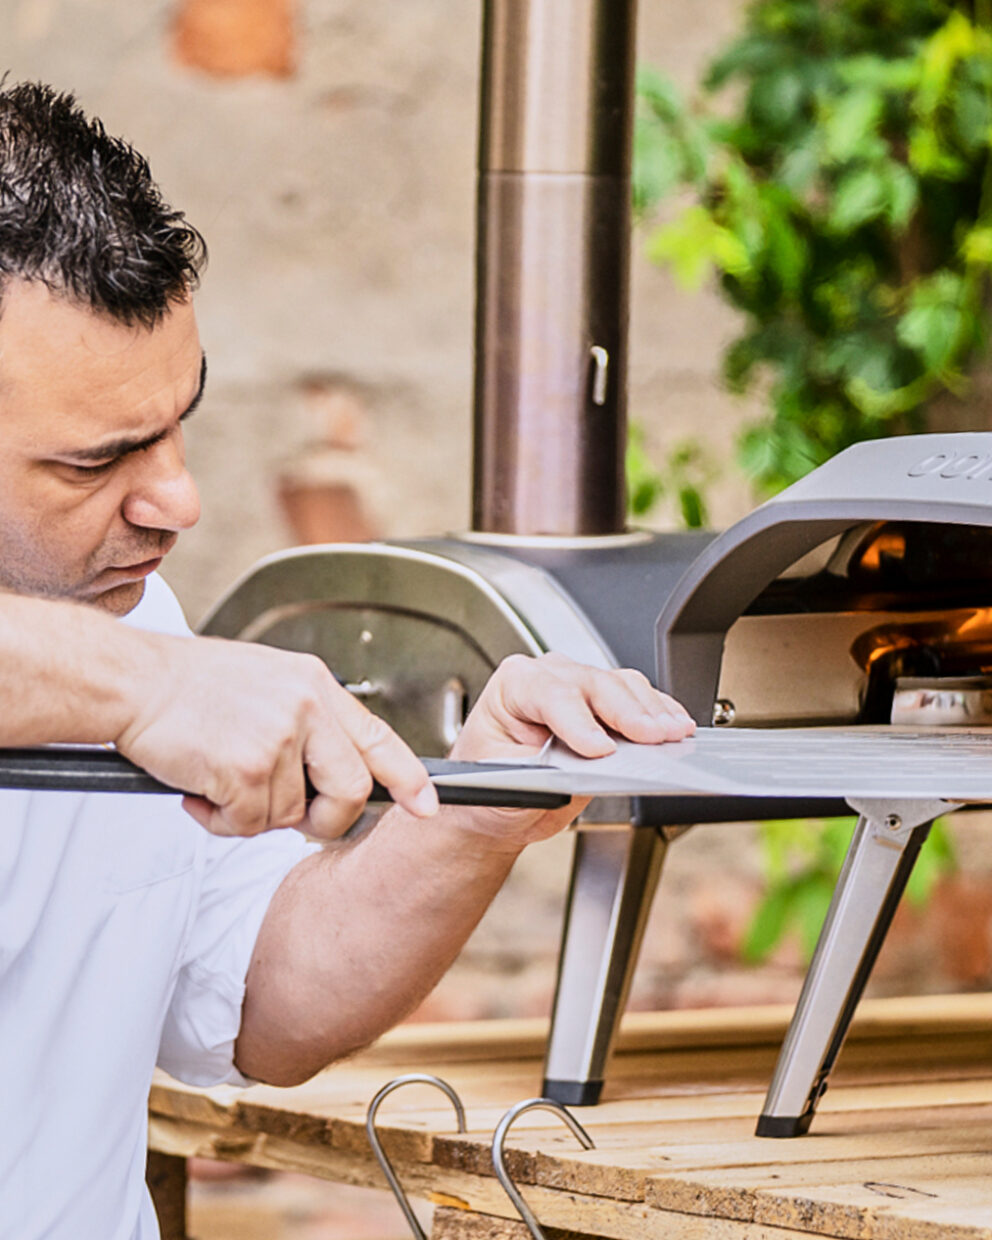
Before the pizza goes into the oven, there is a trick: don’t spread the dough out to its full size. This makes it easier to move onto the pizza peel and the ingredients stay in place better. Once the dough is on the pizza peel, stretch it to the desired size. To do this, stretch the pizza again in 4 to 5 places from the edge to the desired size. Then put it in the oven.


6. conclusion
With the right technique, a little practice and patience, you can conjure up a perfectly shaped Neapolitan pizza yourself – without having to roll out the pizza dough. Leave the rolling pin in the drawer. Fewer touches and the correct use of semola semolina are the keys to success. So, grab your dough and off you go – practice makes perfect!
FAQ about rolling out pizza dough
The dough sticks due to too little semola. Often the dough is also too moist. Solution: Sprinkle the work surface and hands well with semola semolina to prevent sticking.
The dough will tear if too much pressure is applied or if it is worked unevenly.
Too much pressure when shaping destroys the air bubbles, making the dough compact. Solution: Work the dough gently with your fingers and do not use a rolling pin. There may also be too little air in the dough. If the dough is not kneaded sufficiently, the air cannot be optimally distributed in the dough from the start because the gluten network is not developed well enough to hold it. This can be remedied by stretching and folding, as this step distributes the air evenly in the dough.
The dough contracts if it is too cold or has been worked too much.


Want to share your thoughts? We're excited to hear what you think of the article. Tell us about your ideas, tips or questions! Leave a comment and share your knowledge with the community. Your opinion counts.
Write a comment